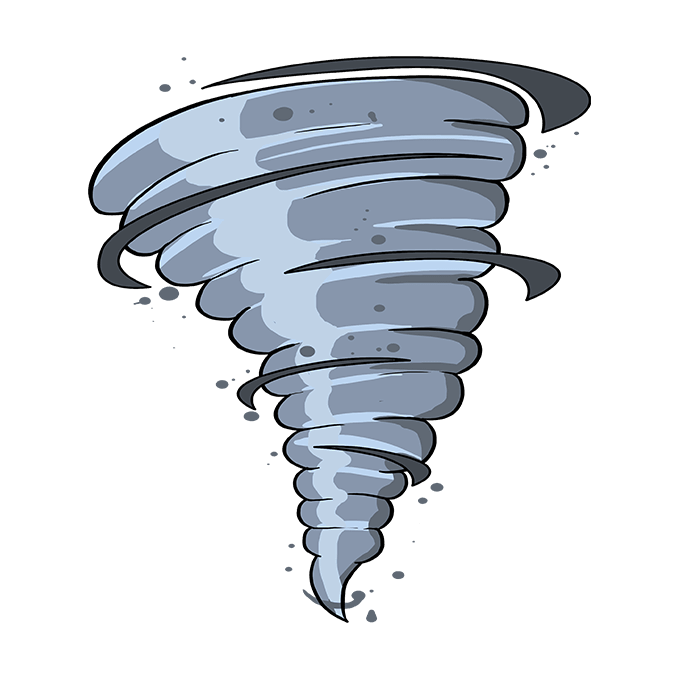
Drawing a tornado may seem like a daunting task, but with the right techniques and a little practice, it can be a fun and rewarding experience. Whether you’re an aspiring artist or just looking to unleash your creativity, learning how to draw a tornado can be a great addition to your artistic repertoire. In this article, we will guide you through the steps to create a realistic and dynamic tornado drawing.
Gather your materials
Before you begin, gather all the necessary materials you’ll need for this project. Here’s a list of what you’ll need:
1. Paper: You can use any type of paper, but it’s recommended to use a heavier-weight paper such as drawing paper or watercolor paper. This will prevent the paper from wrinkling or tearing.
2. Pencils: You’ll need a range of pencils, from light to dark, to create different shades and values in your drawing. A set of graphite pencils ranging from 2H to 6B should be sufficient.
3. Eraser: A kneaded eraser works well for removing pencil lines without leaving residue. You can also use a regular eraser for more precise erasures.
4. Blending tools: You’ll need a blending stump or tortillon to blend and smooth out the pencil lines. A soft cloth or tissue can also be used for this purpose.
Sketch the basic outline
Start by lightly sketching the basic outline of your tornado. Begin with a horizontal line to represent the ground. Then, draw a curved line above the ground to represent the bottom of the tornado. Gradually increase the width of the line as you move upward to create the swirling effect of the tornado.
Add details and shading
Once you have the basic outline, it’s time to add details and shading to make your tornado come to life. Start by adding swirling lines within the tornado to enhance the sense of movement. Draw these lines in a curved and irregular pattern to simulate the chaotic nature of a tornado.
Next, focus on shading to give the tornado depth and dimension. Start with the darker areas of the tornado, such as the center and bottom where the shadows would be more pronounced. Gradually work your way up, using lighter shades of pencil as you move towards the top. Remember to blend the shades together using a blending stump or tortillon for a smooth transition.
Create the tornado’s surroundings
To make your tornado drawing more realistic, add the surrounding elements such as clouds, debris, and wind. Use light, feathery strokes to create wispy clouds around the tornado. You can also add small dots or lines to represent debris being swept up by the wind.
Finalize your drawing
Once you’ve added all the necessary elements, take a step back and assess your drawing. Make any necessary adjustments or refinements to ensure that your tornado looks realistic and dynamic. Erase any unwanted pencil lines and clean up any smudges or stray marks.
Frequently Asked Questions
Q: Can I use colored pencils instead of graphite pencils for this drawing?
A: While graphite pencils are commonly used for this type of drawing, you can certainly experiment with colored pencils to add a vibrant touch to your tornado. Just make sure to layer the colors lightly and gradually to achieve the desired effect.
Q: What if I make mistakes while drawing?
A: Mistakes are a natural part of the drawing process. If you make a mistake, simply use your eraser to remove the unwanted lines or marks. Take your time and be patient with yourself – practice makes perfect!
Q: Are there any other techniques I should know about?
A: Yes, there are many other techniques you can explore to enhance your tornado drawing. For example, you can experiment with different shading techniques such as cross-hatching or stippling to add texture and depth. You can also try using ink or markers for a bold and graphic look.
Final Thoughts
Drawing a tornado requires a combination of observation, technique, and creativity. It may take some time and practice to perfect your tornado drawing skills, but with perseverance, you’ll be able to create stunning and realistic tornado illustrations. Remember to have fun and let your imagination soar as you capture the power and energy of this natural phenomenon on paper. Happy drawing!
